Frosting and decorating a cake can seem intimidating, especially if you are a beginner.
However, with the right techniques and a little patience, anyone can transform a simple cake into a beautiful centerpiece.
Decorating is not just about appearance — it also adds flavor, moisture, and personality to your creation.
In this guide, we’ll break down everything you need to know to frost and decorate cakes like a pro, even if you’re starting from scratch.
Why Frosting and Decorating Matter
Cake decorating is both an art and a science.
Besides making cakes look attractive, frosting:
- Locks in moisture, keeping cakes fresher longer.
- Adds complementary flavors (e.g., chocolate ganache, vanilla buttercream).
- Covers imperfections on the surface of the cake.
- Creates a festive atmosphere for celebrations.
Tip:
Start simple. Focus on mastering basic techniques before moving on to more elaborate designs.
Essential Tools for Frosting and Decorating
Investing in a few key tools makes the decorating process much easier:
- Offset spatula: For smooth, even frosting layers.
- Bench scraper: Essential for achieving sharp edges.
- Turntable: Allows you to spin the cake while frosting.
- Piping bags and tips: For decorative borders and designs.
- Cake leveler or serrated knife: To even out cake layers.
- Cake boards: Provide a sturdy base for decorating and moving cakes.
Preparing the Cake for Frosting
Before you start frosting, proper preparation is crucial:
1. Cool the Cake Completely
Warm cakes cause frosting to melt and slide off.
Tip:
Let the cake cool at room temperature for at least 1–2 hours.
2. Level the Layers
Most cakes bake with a slight dome. Leveling creates even, professional-looking layers.
How to level a cake:
- Use a serrated knife or a cake leveler.
- Gently saw across the top to remove the dome.
Tip:
Save the cake scraps for snacking or making cake pops!
3. Apply a Crumb Coat
A crumb coat is a thin layer of frosting that traps crumbs, creating a smooth base for the final layer.
How to crumb coat:
- Spread a thin layer of frosting over the entire cake.
- Chill the cake for about 20–30 minutes to set the crumb coat.
Choosing the Right Frosting
Different frostings work better for different purposes:
Buttercream
- Best for beginners.
- Easy to spread and pipe.
- Can be flavored and colored.
Types of buttercream:
- American buttercream (sweet and easy)
- Swiss meringue buttercream (light and silky)
- Italian meringue buttercream (stable and smooth)
Ganache
- Made from chocolate and cream.
- Creates a glossy, rich finish.
- Pours smoothly for drips and coatings.
Cream Cheese Frosting
- Tangy and creamy.
- Pairs well with carrot cakes and red velvet cakes.
- Softer consistency; better for simple designs.
Whipped Cream Frosting
- Light and fluffy.
- Great for simple cakes.
- Best served fresh; not as stable for warm environments.
Step-by-Step Guide to Frosting a Cake
Now that your cake is prepared and your tools are ready, let’s frost it!
Step 1: Place the Cake on a Turntable
Center the first cake layer on a cake board or serving plate placed on the turntable.
Step 2: Add Filling Between Layers
Use an offset spatula to spread frosting or another filling (like jam or ganache) between layers.
Tip:
Pipe a ring of frosting around the edge before adding softer fillings to prevent leaks.
Step 3: Stack and Align
Place the next layer carefully, pressing gently to ensure it sits evenly.
Step 4: Apply the Crumb Coat
Spread a thin layer of frosting all over the cake.
Don’t worry about perfection — focus on sealing in crumbs.
Chill the cake for 20–30 minutes.
Step 5: Final Frosting Layer
Apply a generous amount of frosting to the top and sides.
Use your offset spatula and bench scraper to smooth the surfaces.
Tip:
Hold the bench scraper steady against the side and spin the turntable for clean, sharp edges.
Step 6: Decorate!
This is where you can get creative:
- Piping borders around the base and top.
- Adding sprinkles for color and fun.
- Drizzling ganache over the edges.
- Using fresh fruit or flowers for a natural look.
Tip:
Start simple. Master basic techniques before moving to complex designs.
Simple Decoration Ideas for Beginners
You don’t need to be a professional to make a cake look stunning.
Here are easy ideas:
1. Rustic “Naked” Cake
Leave the sides partially unfrosted for a rustic, natural look.
Perfect for weddings and special events.
2. Rosette Cake
Use a star piping tip to create simple rose shapes all over the cake.
3. Sprinkle Cakes
Cover the sides or top of the cake with colorful sprinkles.
Simple but visually striking!
4. Chocolate Drip Cake
Pour slightly cooled ganache over the edges for a trendy “drip” effect.
5. Fresh Flower Decoration
Use edible or pesticide-free flowers to decorate the top or base of the cake.
Troubleshooting Frosting and Decorating Problems
Problem: Frosting Tears the Cake
Solution:
Apply a crumb coat and chill before final frosting.
Problem: Cake Layers Slip
Solution:
Pipe a frosting dam around the edges and chill briefly between stacking layers.
Problem: Air Bubbles in Frosting
Solution:
Stir frosting gently by hand after whipping to remove excess air.
Problem: Frosting Melts
Solution:
Work in a cool environment. Chill the cake and frosting if the room is warm.
Storing Frosted Cakes
Proper storage ensures your beautifully decorated cake stays fresh:
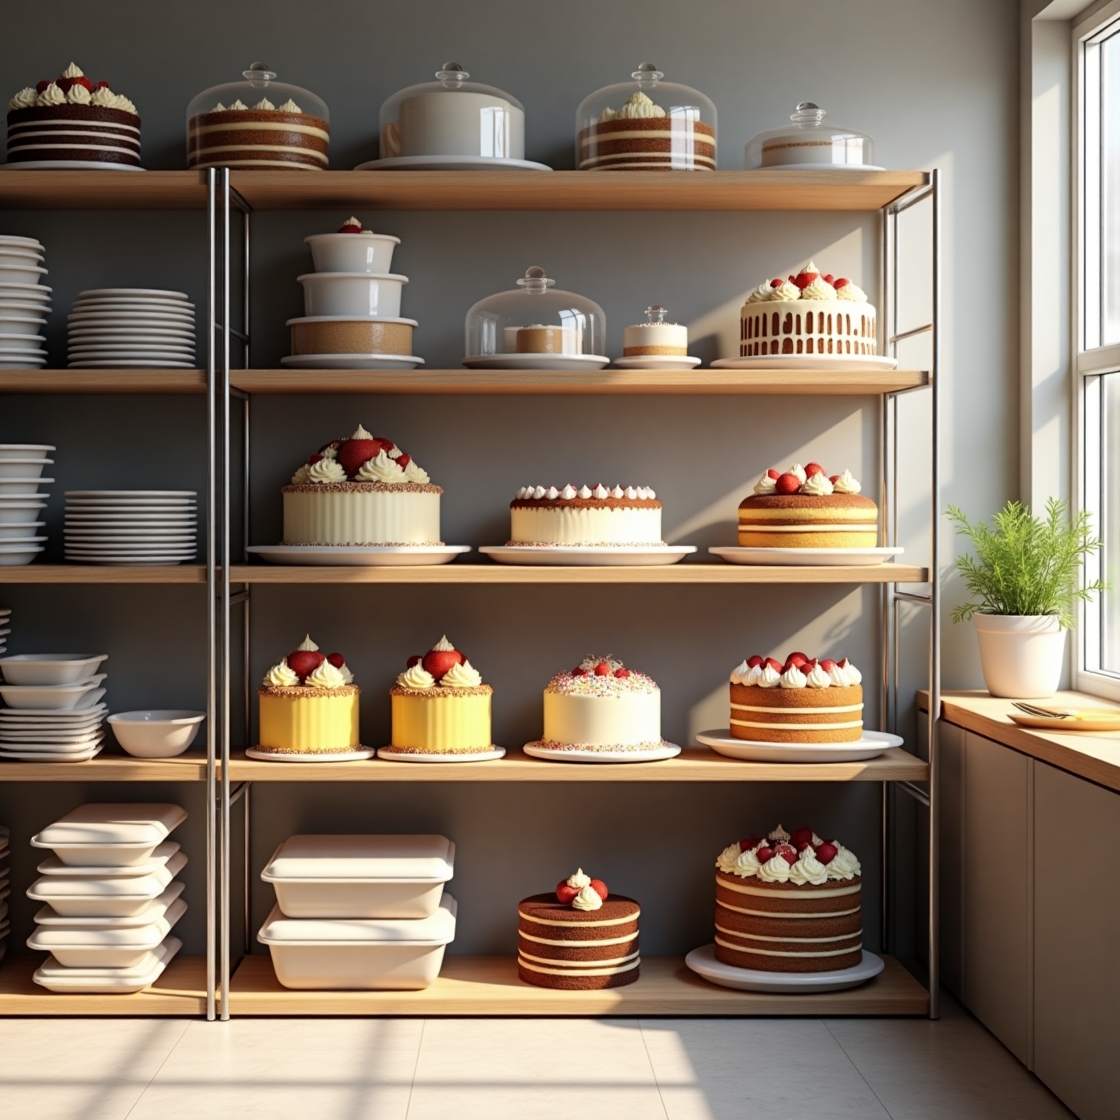
- Short-term: Store under a cake dome at room temperature.
- Medium-term: Refrigerate, but let it come to room temperature before serving.
- Long-term: Freeze carefully — wrap securely and thaw slowly.
Final Thoughts: Decorating is Practice, Not Perfection
Every baker, from beginner to professional, started with messy cakes and wobbly piping.
Cake decorating is a skill that improves with practice.
Focus on enjoying the process, learning new techniques, and celebrating every cake you create — perfect or not.
Each cake you decorate is a step closer to mastering this beautiful art.
Next time you frost a cake, remember: perfection is less important than passion and patience.