Layered cakes are the stars of birthdays, weddings, and special events.
They’re impressive, beautiful, and allow for delicious combinations of flavors, fillings, and frostings.
But many home bakers struggle with leaning layers, uneven surfaces, or fillings that ooze out.
The good news?
You don’t need to be a pastry chef to stack and layer cakes like a pro.
With the right techniques, tools, and a little patience, you can create perfectly layered cakes that look just as amazing as they taste.
This guide will walk you through how to layer a cake step-by-step, from leveling to stacking to finishing with finesse.
Why Layering Cakes Properly Matters
Layering is about more than just stacking cakes. It affects:
- Structure: Prevents collapse or leaning
- Presentation: Creates a clean, professional appearance
- Texture: Even layers ensure balanced bites
- Flavor distribution: Allows fillings and frosting to shine equally
When done correctly, layered cakes are visually stunning and easy to slice and serve.
What You’ll Need: Tools for Success
Before starting, gather these essential tools:
- Serrated knife or cake leveler
- Cake turntable (highly recommended)
- Offset spatula
- Bench scraper or straight edge
- Cake board
- Piping bag (optional, for fillings)
- Measuring tape or ruler
- Non-slip mat or damp towel (to stabilize your work surface)
Tip:
Working with the right tools makes layering faster, easier, and more precise.
Step 1: Bake and Cool Your Cake Layers
Start with cakes that are:
- Evenly baked
- Fully cooled (at least 1–2 hours at room temperature)
- Well-structured (dense enough to hold fillings but still moist and tender)
Tip:
Refrigerate cake layers for 30–60 minutes before trimming and stacking — this makes them firmer and easier to handle.
Step 2: Level the Cake Layers
Most cakes bake with a slight dome on top.
For professional-looking layers, you’ll need to remove this dome.
How to do it:
- Use a serrated knife or a cake leveler.
- Place the cake on a turntable and rotate as you cut.
- Remove as little as possible to retain height.
Optional:
Save cake scraps for cake pops, trifles, or snacking!
Step 3: Choose a Cake Base and Secure the First Layer
Place a cake board or serving plate on your turntable.
Add a small dab of frosting in the center to act as “glue” for the first layer.
Tip:
Use a non-slip mat or damp cloth under the board to prevent sliding during decorating.
Step 4: Add a Frosting or Filling Barrier
If using a soft filling (jam, curd, whipped cream), pipe a ring of frosting around the edge of the cake to contain the filling.
Why it matters:
- Prevents fillings from leaking out
- Keeps the cake stable
- Creates clean sides when frosting
Use:
A piping bag with a round or star tip, or a plastic bag with the corner snipped.
Step 5: Apply the Filling Evenly
Spread your filling inside the frosting barrier using an offset spatula.
Tips:
- Use a consistent amount for each layer (you can weigh it for accuracy).
- Avoid going all the way to the edge — fillings spread slightly when the next layer is added.
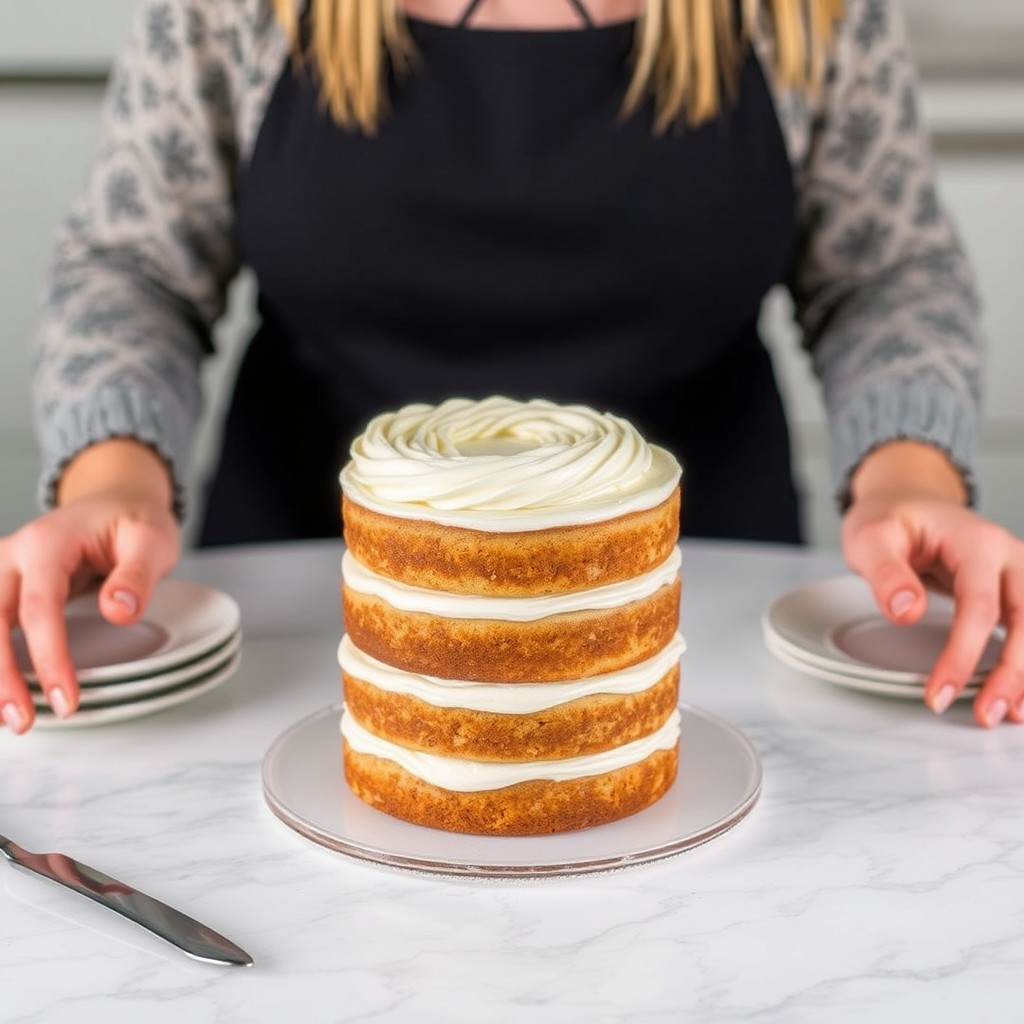
Step 6: Stack the Next Layer
Carefully place the second cake layer on top:
- Line it up directly above the first.
- Gently press to adhere and distribute the filling.
- Check for levelness with your eyes or a ruler.
Repeat the process for additional layers.
Step 7: Chill the Stacked Cake
Place the stacked cake in the refrigerator for 15–30 minutes before frosting.
Why it helps:
- Firm layers prevent shifting during frosting.
- Fillings set and stay in place.
- Reduces crumbs in your final frosting.
Step 8: Apply a Crumb Coat
A crumb coat is a thin layer of frosting that seals in crumbs and smooths imperfections.
How to apply:
- Use your offset spatula to spread a thin, even layer of frosting over the entire cake.
- Scrape off excess using a bench scraper or straight edge.
- Chill the cake again for 20–30 minutes to set the crumb coat.
Tip:
The crumb coat doesn’t need to look perfect — it’s the base for your final finish.
Step 9: Final Frosting Layer
Now it’s time for the final, thicker layer of frosting:
- Apply frosting to the top of the cake and work outward.
- Use the bench scraper to smooth the sides while rotating the turntable.
- Add decorative edges, swirls, or patterns as desired.
Tip:
Keep a glass of warm water nearby to dip your spatula for smoother results.
Optional: Add Decorations
Once frosted, you can decorate with:
- Piped rosettes or borders
- Sprinkles
- Fruit or edible flowers
- Ganache drips
- Cake toppers
Decorations are where your creativity shines!
Step 10: Let It Set
Allow the finished cake to rest in the refrigerator for at least 30 minutes before slicing or transporting.
This sets the frosting and helps the layers hold together beautifully.
Bonus Tips for Professional Results
✅ Use a ruler to measure cake height at multiple points
✅ Use acetate strips for ultra-clean sides
✅ For tall cakes, insert a dowel or straw through the center for support
✅ Trim edges if layers shift during stacking
✅ Keep hands clean — frosting picks up lint and crumbs easily
Common Layering Mistakes and How to Avoid Them
Mistake 1: Uneven Cake Layers
Solution:
Use a cake leveler and refrigerate cakes before cutting.
Mistake 2: Sliding Layers
Solution:
Chill between layers and use frosting dams to hold fillings.
Mistake 3: Lopsided Cakes
Solution:
Stack carefully and use a ruler to ensure alignment.
Mistake 4: Crumb-Filled Frosting
Solution:
Always apply a crumb coat and chill before final frosting.
Final Thoughts: Layer Like a Pro, Even at Home
Layering a cake doesn’t have to be intimidating.
With a methodical approach, the right tools, and attention to detail, you can create tall, stable, and stunning cakes that wow anyone who sees (and tastes) them.
Whether you’re baking for a loved one’s birthday or preparing for a big event, mastering the art of layering elevates your baking to a whole new level.